Monday, March 16, 2015

Thank You card

I went on a woman's retreat this last weekend sponsored by my church and one of the speakers really stepped out of her comfort zone to give her testimony story.  It meant a lot to me and I wanted to create a quick, cute card to send her as a thank you note.  I made this blank card with a sweet little bee on the front.  I wished I could have spent more time to create something more elaborate, but sometimes simple is just better and fits the need.

Cardstock: black and 3 shaded of yellow
popdots
precut card with envelope - 3.5 by almost 5"
  --I am just using up some precut blank cards I was gifted
Hambly Screenprints - Rain Clouds overlay cut to size
Create a Critter - Bee on pg 68 cut at 3.5"


Thursday, March 12, 2015

Campfire Birthday Card

The card I created for my brother's birthday is especially adorable.  Sure, that is the last thing a grown man wants, but it was fun to design and make.  Plus I like how it ties together an experience he had with my little boy.  They had a chance encounter one evening where uncle and nephew were given an opportunity to hang out together around the campfire.

Front:
Campin' Critters - 2 1/4" Porcupine and a second porcupine of the same size using Cricut Flip feature
Create a Critter - 1 1/4" camp fire, I reversed the fire layers to hide the smiley face
Cuttlebug - Candy Cane - Since the card size is larger than the embossing folder, I was very careful to line things up and run the paper back through to continue the design.


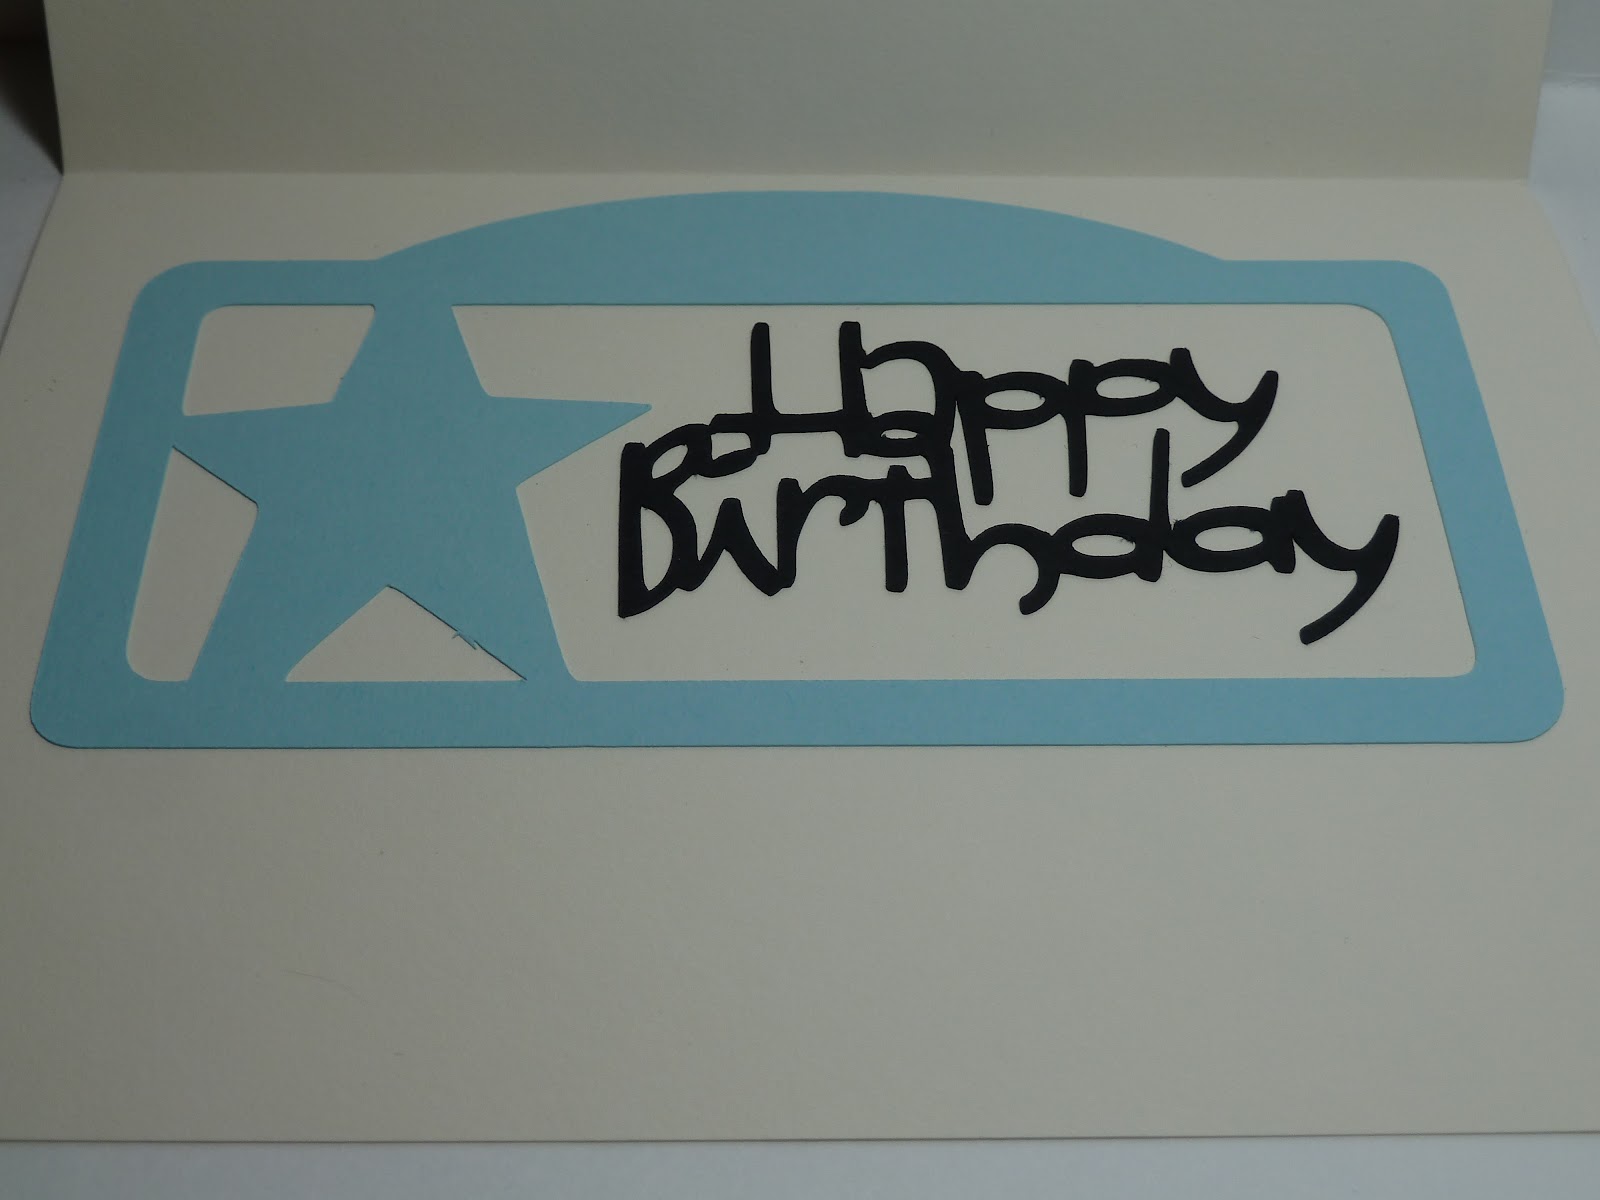
Inside:
Art Philosophy - 3 1/4" Star Rectangle Decorative Layer
Wild Card - 6" Happy Birthday phrase

Coming back

My crafting took a nose dive for about 2 years.  Between light scrapbooking, pregnancy, having the baby plus the chaos and exhaustion of the first year, I just didn't have it in me to craft much, and when I did craft, I didn't blog about it.  I have made some wonderful cards and sent them away and well, those will just have to live in that moment.  Card making and scrapbooking has taken a dramatic turn in these past couple of years and there are just TONS of new and unique tools to make spectacular works of art with the greatest of ease.  I can't wait to show you some of my creations as I start to post again.

Wednesday, August 15, 2012

HoneyPop Flower Card

On recent visit to Archiver's, I learned of a new way to use the HoneyPop paper pad.  In a demonstration, they cut a piece of the paper, expanded the honeycomb into a long piece and swirled that piece around a circular adhesive dot.  Cutting different shapes of the honeypop paper result in different styles of flowers.


Front:
Precut Folded Notecards - purple with white interior
Cardstock: white
Cuttlebug: Swiss Dots
HoneyPop Paper: Pink
Embellishment: white button
Colorbox ink - Eggplant
Glubers Adhesive Dot


Above is my very first honeypop flower and I learned that I do not have a steady hand at swirling delicate paper around a very sticky adhesive dot.  Even tho I had to trim the pitiful pieces that were sticking out, over all I thought my little flower still turned out well.

Below is my second honeypop flower.
I used a the Rainbow HoneyPop paper, a Gluber adhesive dot and a little gemstone to cover the mess that becomes the middle as the paper meets itself.
In an attempt to get the alignment a little more even, I decided to draw a swirl directly on the Gluber adhesive dot.  Basically, I created a guideline to follow and it worked out beautifully.


Wednesday, March 28, 2012

Monkey Business

After reviewing my little collection of cards I am making as a gift, I thought it was would be a good move to add a more gender neutral card.

Front:
Standard A2 green card
Cardstocks: cream, green, dark green, light brown, medium brown, dark brown
Cricut Cartridge: Create a Critter - pg.46 Monkey
My Pink Stamper: More Punny-licious - Hang in there!
ColorBox: Hunter Green
pop dots

While the vines were not a layered feature, I cut one of each in 2 different shades of green to add a little shadow and dimension that seemed to be lacking.

I used pop dots on the monkey, then glued his hand down to the top vine.  It struck me as odd when his hand just floated above.  I also thought it was a cute touch to make the little monkey tail swoop below the edge of the cream mat.  These two elements, while don't seem that significant, added enough to the design that I will be sure to replicate next time I make this card.

Inside:
blank

And with this, the birthday gift card collection is done.  I really hope she likes them.

Monday, March 26, 2012

Have a mice day

This card was as cute as could be, very proud of this design.  Plus it gave me an opportunity to use my new Black and White paper pack I just bought from Michaels.

Front:
Standard A2 cream card
Cardstocks: pink, black and white polka dot, black, gray, light grey
Cricut Cartridge: Create a Critter pg37 Mouse
ribbon: white satin, hot pink
My Pink Stamper: More Punny-licious - Have a mice day!

Inside:
blank
 
I layered the white ribbon twice because you could see the polka dots through one layer of the ribbon.  It created some bulk since it was attached to paper instead of cardstock and wanted to slide a bit, but a little adhesive and being extra careful  took care of all that.

Wednesday, March 21, 2012

Button Flowers

I went to Michael's and found these small containers of different color buttons on sale.  I have seen this design before, so I wanted to try my hand at a card where buttons were used as flowers.  It will be a nice addition to the birthday gift card collection.


Front:
Standard A2 yelow card
Cardstock: light blue 
Ribbons: dark green, green, light green
buttons: white, pink, purple


Inside:
blank

The button flowers were easy enough and nesting some of the button inside each other gave it an added touch (my little boy loved helping glue the buttons together), but the real special thing is the use of the ribbon as the grass.  Each longer horizontal piece was taped to the back of the sky blue mat but I each had at least 1 twist and sometimes 2 twists to create a raised messy look. Then several short pieces of ribbon were knotted along longer ones to again add dimension and texture.  These ribbons of course hid the ribbon ends that served as the stems to the flowers.  The twists, knots and different colors work well to prevent constantly checking on if the ribbon was straight and even.  It was "out of my norm" card design, but a lovely end result.