I went on a woman's retreat this last weekend sponsored by my church and one of the speakers really stepped out of her comfort zone to give her testimony story. It meant a lot to me and I wanted to create a quick, cute card to send her as a thank you note. I made this blank card with a sweet little bee on the front. I wished I could have spent more time to create something more elaborate, but sometimes simple is just better and fits the need.
Cardstock: black and 3 shaded of yellow
popdots
precut card with envelope - 3.5 by almost 5"
--I am just using up some precut blank cards I was gifted
Hambly Screenprints - Rain Clouds overlay cut to size
Create a Critter - Bee on pg 68 cut at 3.5"
Showing posts with label Create a Critter. Show all posts
Monday, March 16, 2015
Thursday, March 12, 2015
Campfire Birthday Card
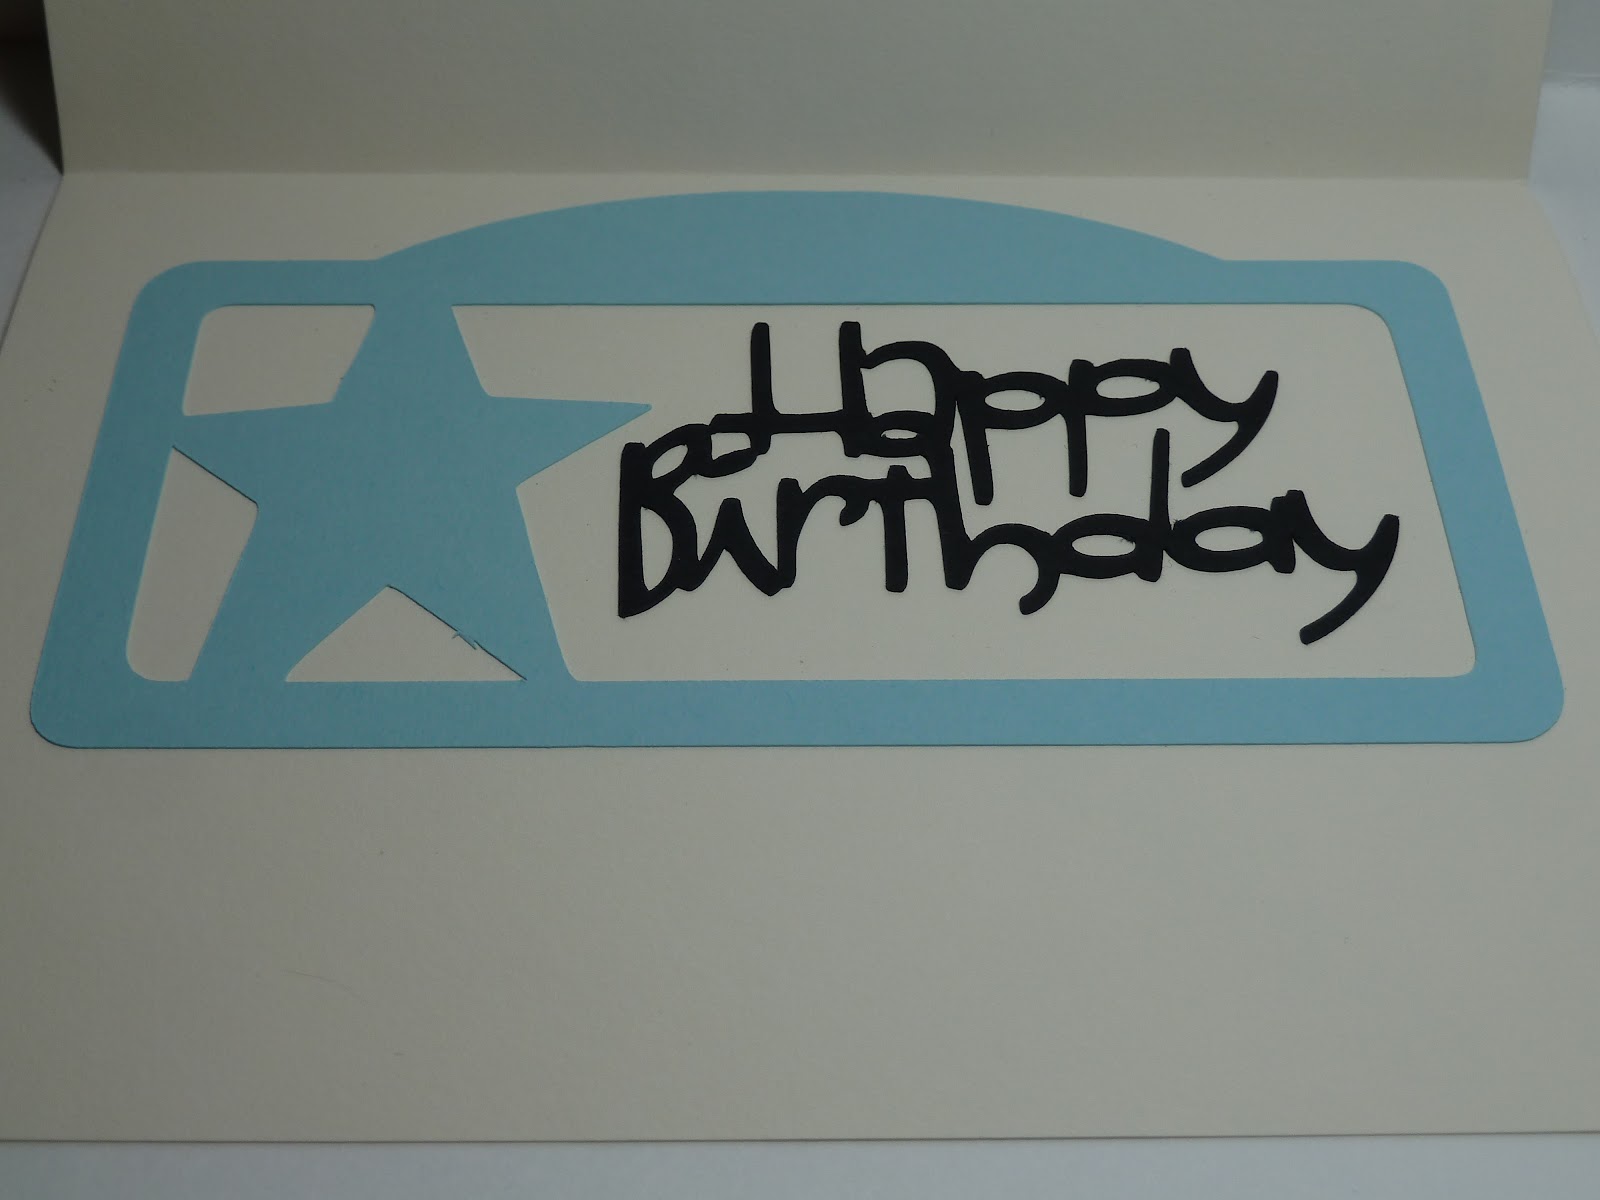
The card I created for my brother's birthday is especially adorable. Sure, that is the last thing a grown man wants, but it was fun to design and make. Plus I like how it ties together an experience he had with my little boy. They had a chance encounter one evening where uncle and nephew were given an opportunity to hang out together around the campfire.
Front:
Campin' Critters - 2 1/4" Porcupine and a second porcupine of the same size using Cricut Flip feature
Create a Critter - 1 1/4" camp fire, I reversed the fire layers to hide the smiley face
Cuttlebug - Candy Cane - Since the card size is larger than the embossing folder, I was very careful to line things up and run the paper back through to continue the design.
Inside:
Art Philosophy - 3 1/4" Star Rectangle Decorative Layer
Wild Card - 6" Happy Birthday phrase
Front:
Campin' Critters - 2 1/4" Porcupine and a second porcupine of the same size using Cricut Flip feature
Create a Critter - 1 1/4" camp fire, I reversed the fire layers to hide the smiley face
Cuttlebug - Candy Cane - Since the card size is larger than the embossing folder, I was very careful to line things up and run the paper back through to continue the design.
Art Philosophy - 3 1/4" Star Rectangle Decorative Layer
Wednesday, March 28, 2012
Monkey Business
After reviewing my little collection of cards I am making as a gift, I thought it was would be a good move to add a more gender neutral card.
Standard A2 green card
Cardstocks: cream, green, dark green, light brown, medium brown, dark brown
Cricut Cartridge: Create a Critter - pg.46 Monkey
My Pink Stamper: More Punny-licious - Hang in there!
ColorBox: Hunter Green
pop dots
While the vines were not a layered feature, I cut one of each in 2 different shades of green to add a little shadow and dimension that seemed to be lacking.
I used pop dots on the monkey, then glued his hand down to the top vine. It struck me as odd when his hand just floated above. I also thought it was a cute touch to make the little monkey tail swoop below the edge of the cream mat. These two elements, while don't seem that significant, added enough to the design that I will be sure to replicate next time I make this card.
Inside:
blank
And with this, the birthday gift card collection is done. I really hope she likes them.
Monday, March 26, 2012
Have a mice day
This card was as cute as could be, very proud of this design. Plus it gave me an opportunity to use my new Black and White paper pack I just bought from Michaels.
Front:
Standard A2 cream card
Cardstocks: pink, black and white polka dot, black, gray, light grey
Cricut Cartridge: Create a Critter pg37 Mouse
ribbon: white satin, hot pink
My Pink Stamper: More Punny-licious - Have a mice day!
Inside:
blank
I layered the white ribbon twice because you could see the polka dots through one layer of the ribbon. It created some bulk since it was attached to paper instead of cardstock and wanted to slide a bit, but a little adhesive and being extra careful took care of all that.
Front:
Standard A2 cream card
Cardstocks: pink, black and white polka dot, black, gray, light grey
Cricut Cartridge: Create a Critter pg37 Mouse
ribbon: white satin, hot pink
My Pink Stamper: More Punny-licious - Have a mice day!
Inside:
blank
I layered the white ribbon twice because you could see the polka dots through one layer of the ribbon. It created some bulk since it was attached to paper instead of cardstock and wanted to slide a bit, but a little adhesive and being extra careful took care of all that.
Monday, March 19, 2012
Pretty Zebra
For a friend's birthday, I thought it would be a good idea to make cards for her to send out to others. I gave her the Action Wobble Crab card and next few posts are going to be the cards I created as a birthday gift.
Front:
Standard A2 cream card
Cardstocks: animal print purple, light purple, black, white, grey
Cricut Cartridge: Create a Critter pg47 Zebra
pink flower gem
Thinking of You stamp - impulse bin from Michaels
Ranger Tim Holtz Distress Ink: Black Soot
pop dots
Instead of cutting out the flower layer for the zebra as designed by the cartridge, I just replaced it with a shiny flower shaped gemstone I had on hand.
Inside:
blank
Front:
Standard A2 cream card
Cardstocks: animal print purple, light purple, black, white, grey
Cricut Cartridge: Create a Critter pg47 Zebra
pink flower gem
Thinking of You stamp - impulse bin from Michaels
Ranger Tim Holtz Distress Ink: Black Soot
pop dots
Instead of cutting out the flower layer for the zebra as designed by the cartridge, I just replaced it with a shiny flower shaped gemstone I had on hand.
Inside:
blank
Saturday, March 17, 2012
Action Wobble Crab
Yay! My Action Wobbles arrived! So several months, maybe even a year ago, I watched several blogs introduce a new product called Action Wobbles. I finally ordered a set from Amazon and when they arrived, I could not wait to make a card. A good friend of mine has a birthday in March, so it was perfect timing for a cute wobble birthday card.
This is an Action Wobble Spring. They are so easy to use and add movement to your cards. They make cute, even cuter.
Since that picture doesn't really tell you how big the wobbles are here is a picture with the wobble and the card. They are currently only sold in one size, but there is a little room to trim around the edge to tighten the fit if needed.
Front: Inside:
Standard A2 blue card blank
Cardstocks: cream, orange, yellow, black, red
Cricut Cartridge: Create a Critter pg40 Crab
Paprika Stickles
ek Tools: Scallop Diamond Edger Punch
My Pink Stamper: More Punny-licious - Snappy Birthday
Versa Ink: Black
Action Wobble
Versa Ink: Black
Action Wobble
The beach and sky didn't seem enough so I used scissors to just freehand cut a sun for the corner, then added orange stickles for bling.
Tuesday, March 6, 2012
Hoppy Birthday to You
I wanted to create a cute card for a coworker on her birthday and thought the Create a Critter bunny would be just right.
Front:
Standard A2 cream card
Cardstocks: lavender, purple animal print, pink, white, green, black
Fiskars Grass border punch
Cricut Cartridge: Create a Critter
I love the rich grass field created by layering 2 levels of grass.
Inside:
Happy Birthday stamp
Vera Ink Black
It was a quick and easy card, just right for a weekday project.
Standard A2 cream card
Cardstocks: lavender, purple animal print, pink, white, green, black
Fiskars Grass border punch
Cricut Cartridge: Create a Critter
I love the rich grass field created by layering 2 levels of grass.
Inside:
Happy Birthday stamp
Vera Ink Black
It was a quick and easy card, just right for a weekday project.
Wednesday, August 24, 2011
HoneyPop Birthday Bird
A friend's birthday gave me the opportunity to try a new 3D card concept. When I saw the HoneyPop product line on my very first trip to a store called Archiver's, I found it completely jaw dropping irrisistable.
Since this card was a new concept for me, I decided to take strong inspiration from the card design on the Inky Antics website that demonstrated the Cupcake Birdy stamp set from the HoneyPop Collection.
Front:
Precut cream colored 5x7 card
Cardstock: light pink, dark pink, light purple, yellow, light blue, white, black, DCWV Animal Crackers-blue polka dot paper strip
Inky Antics - Cupcake Birdy stamp set - Happy Birthday
Distress Ink - Faded Jeans
Cartridges:
Create a Critter - bird pg65
George and Basic Shapes - ovals cut at approximately 4.75" and 5"
Wall Decor and More - duck flourish leftovers from another card
Embellishments: white ribbon, blue ribbon, pop dots
I started off giving my card a double score in the spine to make sure the 3D effect of the honeycomb paper works properly, just like the instructions state. Plus this would change the width of the card and I wanted to be aware of the minor adjustment when sizing the white and pink base frame cardstock.
Cut and assemble the little bird and all of her layers from the Create a Critter cartridge at 3" and placed the pop dots to the back for the added demension. Plundering my scraps, I found a leftover flourish from another card where I cut the Wall Decor and More Duck. By luck it was the same color as the larger oval so I added it to the card. Covering the edges of the blue polka dot paper strip with the ribbons, I finished assembly, but did not attach to the card yet. The Happy Birthday stamp barely fit, however it was a must.
Inside:
Distress Ink - Faded Jeans
Inky Antics - Cupcake Birdy stamp set - with a cherry on top, cherry, bird
Inky Antics Honey pop collection - Brown honeycomb paper
Inky Antics Honey pop collection - Pink honeycomb paper
I stamped and cut the cupcake parts from Brown and Pink honeycomb paper. Note to self, but sure to use strong, sharp scissors, this paper requires a clean cut and dinky scissors will not do the job properly.
Stamped and colored the cherry on top, while this seems out of order, you need to do this part first on the inside so that you have room for your hands, the acrylic block, etc., going for clean contact with no slips. Then using normal glue runner adhesive, I attached the cupcake parts to the center of the card. Wow. It was as spectacular as I remember from the store!
Added the rest of the inside stamps, and affixed the card front to the card face.
I am absolutely thrilled with the result.
Since this card was a new concept for me, I decided to take strong inspiration from the card design on the Inky Antics website that demonstrated the Cupcake Birdy stamp set from the HoneyPop Collection.
Front:
Precut cream colored 5x7 card
Cardstock: light pink, dark pink, light purple, yellow, light blue, white, black, DCWV Animal Crackers-blue polka dot paper strip
Inky Antics - Cupcake Birdy stamp set - Happy Birthday
Distress Ink - Faded Jeans
Cartridges:
Create a Critter - bird pg65
George and Basic Shapes - ovals cut at approximately 4.75" and 5"
Wall Decor and More - duck flourish leftovers from another card
Embellishments: white ribbon, blue ribbon, pop dots
I started off giving my card a double score in the spine to make sure the 3D effect of the honeycomb paper works properly, just like the instructions state. Plus this would change the width of the card and I wanted to be aware of the minor adjustment when sizing the white and pink base frame cardstock.
Cut and assemble the little bird and all of her layers from the Create a Critter cartridge at 3" and placed the pop dots to the back for the added demension. Plundering my scraps, I found a leftover flourish from another card where I cut the Wall Decor and More Duck. By luck it was the same color as the larger oval so I added it to the card. Covering the edges of the blue polka dot paper strip with the ribbons, I finished assembly, but did not attach to the card yet. The Happy Birthday stamp barely fit, however it was a must.
Inside:
Distress Ink - Faded Jeans
Inky Antics - Cupcake Birdy stamp set - with a cherry on top, cherry, bird
Inky Antics Honey pop collection - Brown honeycomb paper
Inky Antics Honey pop collection - Pink honeycomb paper
I stamped and cut the cupcake parts from Brown and Pink honeycomb paper. Note to self, but sure to use strong, sharp scissors, this paper requires a clean cut and dinky scissors will not do the job properly.
Stamped and colored the cherry on top, while this seems out of order, you need to do this part first on the inside so that you have room for your hands, the acrylic block, etc., going for clean contact with no slips. Then using normal glue runner adhesive, I attached the cupcake parts to the center of the card. Wow. It was as spectacular as I remember from the store!
Added the rest of the inside stamps, and affixed the card front to the card face.
I am absolutely thrilled with the result.
Wednesday, July 13, 2011
Fun time flocking
I learned about the wonders of flocking last weekend at a Scrapbooking Expo! Where in the world have they been keeping this wondrous little secret? I thought this was a whole new product that was bursting onto the market, then I discover it has been around for years! Where was I? It is much like an embossing powder but it actually makes things fuzzy.
I have no particular reason to make a card, I just really wanted to make a fuzzy little critter.
Front:
Precut cream colored 5x7 card
Cardstock: green pattern paper (sort of a grassy appearance), cream
Cricut Cartridge: Create a Critter
-pg 69 Fawn cut at 3.5"
Embellishments: brown ribbon, generic flower gemstones
Stamp: My Pink Stamper - More Punny-licious: you're a deer
Tim Holtz Distress Ink - Tea Dye
Funky Flock: Milk Chocolate, Bow-Wow Brown
Precut cream colored 5x7 card
Cardstock: green pattern paper (sort of a grassy appearance), cream
Cricut Cartridge: Create a Critter
-pg 69 Fawn cut at 3.5"
Embellishments: brown ribbon, generic flower gemstones
Stamp: My Pink Stamper - More Punny-licious: you're a deer
Tim Holtz Distress Ink - Tea Dye
Funky Flock: Milk Chocolate, Bow-Wow Brown
Here is an extreme closeup of the the fuzzy flocked little deer. Isn't he just sweet and amazing...
Subscribe to:
Posts (Atom)