Showing posts with label Wild Card. Show all posts

Thursday, March 12, 2015

Campfire Birthday Card

The card I created for my brother's birthday is especially adorable.  Sure, that is the last thing a grown man wants, but it was fun to design and make.  Plus I like how it ties together an experience he had with my little boy.  They had a chance encounter one evening where uncle and nephew were given an opportunity to hang out together around the campfire.

Front:
Campin' Critters - 2 1/4" Porcupine and a second porcupine of the same size using Cricut Flip feature
Create a Critter - 1 1/4" camp fire, I reversed the fire layers to hide the smiley face
Cuttlebug - Candy Cane - Since the card size is larger than the embossing folder, I was very careful to line things up and run the paper back through to continue the design.


Inside:
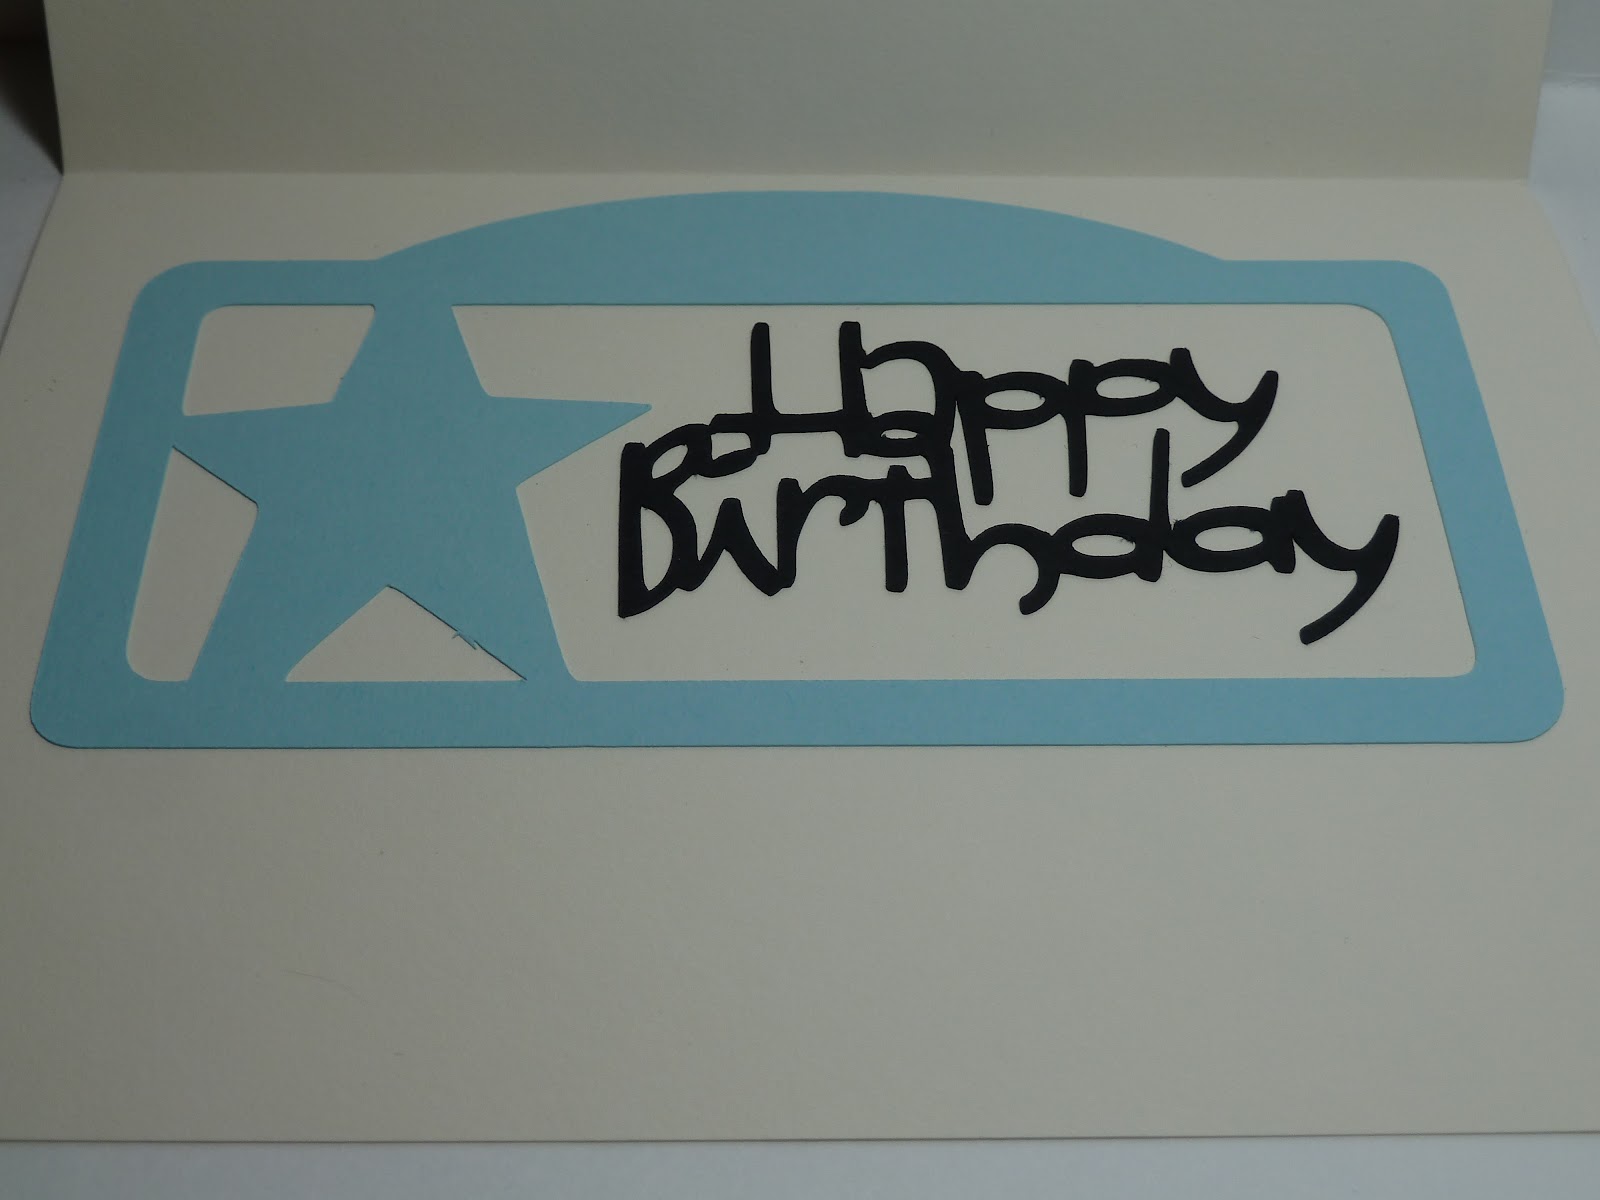
Art Philosophy - 3 1/4" Star Rectangle Decorative Layer
Wild Card - 6" Happy Birthday phrase

Tuesday, March 6, 2012

Cheers Birthday Card

Happy Birthday to my older brother!  woohoo!  I just HAD to make him this popup beer mug card for this special occasion.

Front:
Precut cream colored 5x7 card
Cardstock: amber yellow, light yellow, cream (3 different shades of yellow), navy blue, black

Cartridge: Wild Card - Argyle
Argyle page 33 cut at 6.75" from the navy blue and black cardstocks
Cartridge: Everyday popup card - Mug
cheers phrase and layers from page 42 cut at 1 inch from the 3 yellows


While the front is a relatively simple design, I don't know if the picture can really portray the richness that the thick paper layers bring to the table.

Inside:
Cardstock: amber ale, light brew and cream foam (same 3 shades of yellow with the fun beer names)
Versa Black ink
Happy Birthday stamp

Cartridge: Everyday popup card - Mug page 42

I researched so many web sites to figure out how to put this beer popup card together and there were none.   The Cricut message boards have an illustrated "image" to the popup assembly, but it was weak.  That is ok, I have an engineering degree, I can figure it out myself.


I wanted to make the beer mug as large as possible, so using a full 12x12 sheet of paper I used the Fit To Page feature.  Cricut calculated the Mug Pop-Up feature to be 6.25", which I cut using the 2 darker shades of yellow.

 Oddly enough I have an extra piece I could never figure out.  Oh well, the popup works without it, so it will just have to remain a mystery, so much for that engineering degree.

Thursday, April 28, 2011

Baby Rattle Shaker Card

Wow.  This card turned out better than I ever dreamed.  A friend and coworker just had a darling baby boy so I decided to try my hand at a shaker style card.


Front:
Precut cream colored 5x7 card
Cricut Cartridge: Wild Card rattle (Shift Icon from the Carriage Card) cut at 5.5
Cuttlebug: Swiss Dots
Cardstock: light blue, white, blue, clear-gloss poly (purchased a pack of those presentation binding covers at Office Depot)
Small square pop dots, cut in half
White and blue seed beads
Blue marker
Ribbons: cream and dark blue


To create this card, I actually cut the rattle icon 3 times with light blue, blue and the clear cardstock.  If I had the Gypsy I would have removed the 3 front cuts on the face of the rattle, but luckily the Cricut did not cut completely through the clear sheet.  This concern was just so the beads would not have an escape route.

On the light blue rattle, take your halved pop dots and make a very tight ring around the outside edge of the top circle.  Here is a picture of the circle partially complete.  I should probably have used some version of a pop dot strip instead of hand trimming each little square, but I wanted to use what I had on hand.
Pour the seed beads into the enclosed circle.
Cut the handle off the clear rattle cut and place that on the pop dot ring.
Cut off the handle from the blue rattle then cut out an even circle from the middle of the blue, so that you are left with just a blue ring.  The ring width should just be wide enough to cover the pop dot ring showing through the clear circle.
The rattle portion is now built.  I used just a light blue marker to color the white edges of the pop dots and took some glue to the edge just to ensure the seed beads would not find a tiny hole between pop dots.

Inside:
EK Success Edger: Starry Night
Congratulations stamp
Tim Holtz Distress Ink: Faded Jeans


I thought the whole project looked terrific for a first attempt even if it did take me twice as long to work out all the details.  Luckily, I am confident I can make it much quicker next time.